How to Delete an IMO Account The Easy Way
If you have an IMO account that you no longer use, did you know that your phone number may still be visible to others using the messaging app? For this and more reasons, you may be wondering how to delete an IMO account—and we're here to help.
It's usually not difficult to , as long as you can still log in. Sometimes, however, changing an email address or phone number will get you locked out of your account. If this happens—or if you wish you had a virtual assistant to handle this frustrating task, you're in luck. DoNotPay can help you figure out how to delete an IMO account quickly and easily.
What is IMO & How Does It Work
Before we let you in on all the details about , we'll explain how IMO works. The free app is available for Android and iPhones. There are also desktop versions for MAC and Windows users.
IMO users access HD-quality video calls, voice calls, and chat using messages. The ability to send large files is a feature that sets it apart. Plus, it works globally.
How to Delete an IMO Account on Your Own, Step-by-Step
If you prefer to take the DIY route, here are the steps to delete your IMO account. There's one issue—you'll need to be able to log in. If you cannot access your account for any reason, skip ahead to the section below.
Open the IMO App on Your Mobile Phone and Follow These Steps:
- While in the IMO mobile app, tap the 3 bars on the lower left to bring up your account information.
- Click on Settings.
- Click on IMO Account Settings on the next screen.
- Click on Delete IMO Account.
- Type in the phone number associated with your account, then click on "Delete," which you should see in the top right corner of your screen.
- Next, you should see a screen appear that says, "Please give us some feedback." Type a short reason for deleting your account on the blank line.
- Click Delete on the top right. All done—problem solved!
All the Ways to Delete an IMO Account
Can I delete an IMO account using the following methods?
- DoNotPay: Yes
- Email: Possibly. There is an address you can try: feedback@imo.im
- In-Person: No
- Live Chat: No
- Mail: Possibly, but you may not get a response. Here's the mailing address: 395 Page Mill Road, Suite 100; Palo Alto, CA 94306
- Phone: Possibly. There is a customer support number: 650-248-6031
- Website: Yes, there is a 'delete account' button on the app.
Why It’s Important to Delete an Old IMO Account
If you're no longer using your IMO account, there are many reasons why you should delete it. Inactive online accounts pose a considerable risk since they are usually linked to personal information. Accounts that aren't monitored regularly can be prone to identity theft, data breaches, and more.
Leaving your IMO account online has additional issues. Your profile remains visible to other users on the app even if you no longer use the messaging service. You'll keep appearing in your friends' contact lists, with all your profile information—even if you have changed your phone number.
Plus, you agreed to IMO's Privacy Policy when you created your account. You gave consent to access your camera, address book, iCloud files, location data, and more. The app even saves your chat history and shares it with third parties. So if you're wondering how to delete an IMO account—read on.
What to Do if You Can’t Log in to Your IMO Account
If you're trying to follow the steps outlined above to delete your IMO account, you'll need to be able to log in to your account. Sometimes, however, it can be easy to get locked out—especially when your phone number or email address has changed.
If you no longer have access to these, you may have issues verifying your identity when trying to log in. If you aren't up for the frustrating task of figuring out how to reset your IMO password, there is an easier solution. Knowing how to delete an IMO account when you don't know your password can be a lengthy process, so let DoNotPay handle it.
How to Delete an IMO Account With Donotpay’s Help
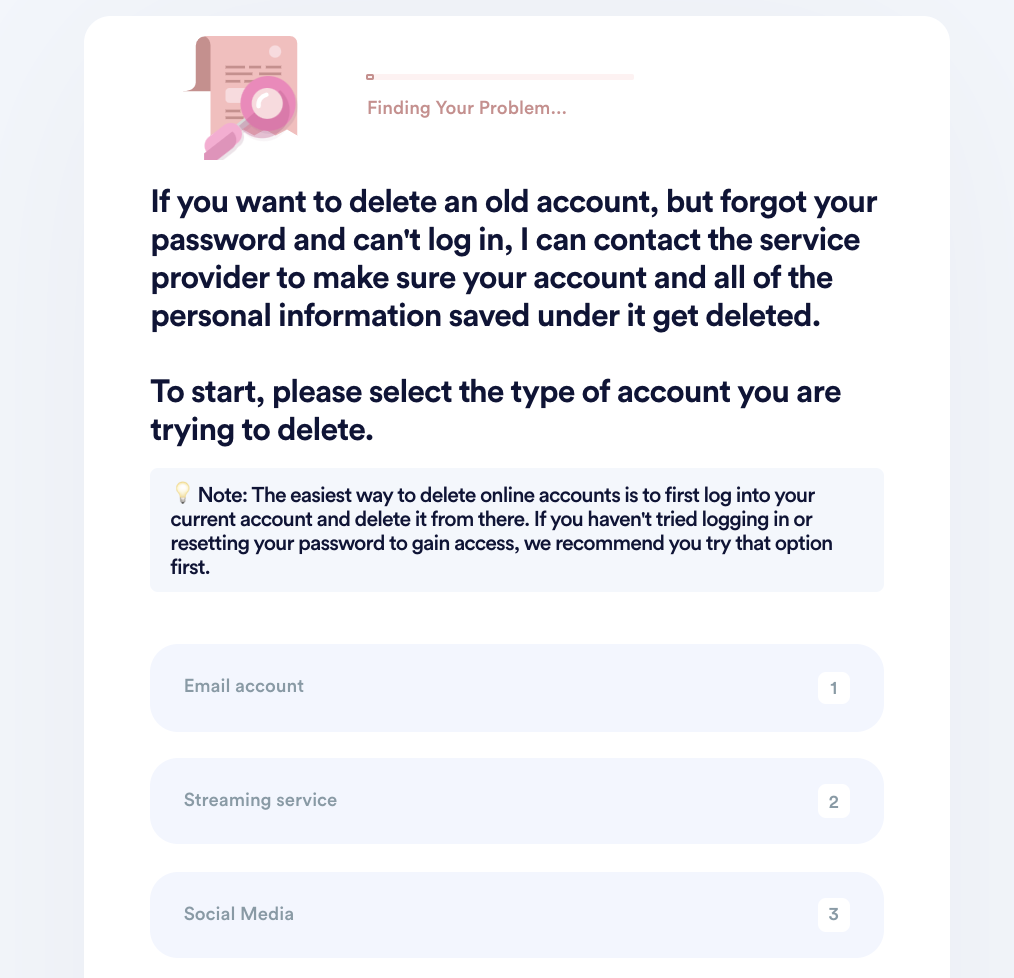
If you want to delete old accounts but don't know where to start, DoNotPay has you covered in 7 easy steps:
- Go to Delete Old Accounts product on DoNotPay.

- Select the type of account you are trying to delete, such as email, streaming service, social media, gaming, eCommerce, and more.
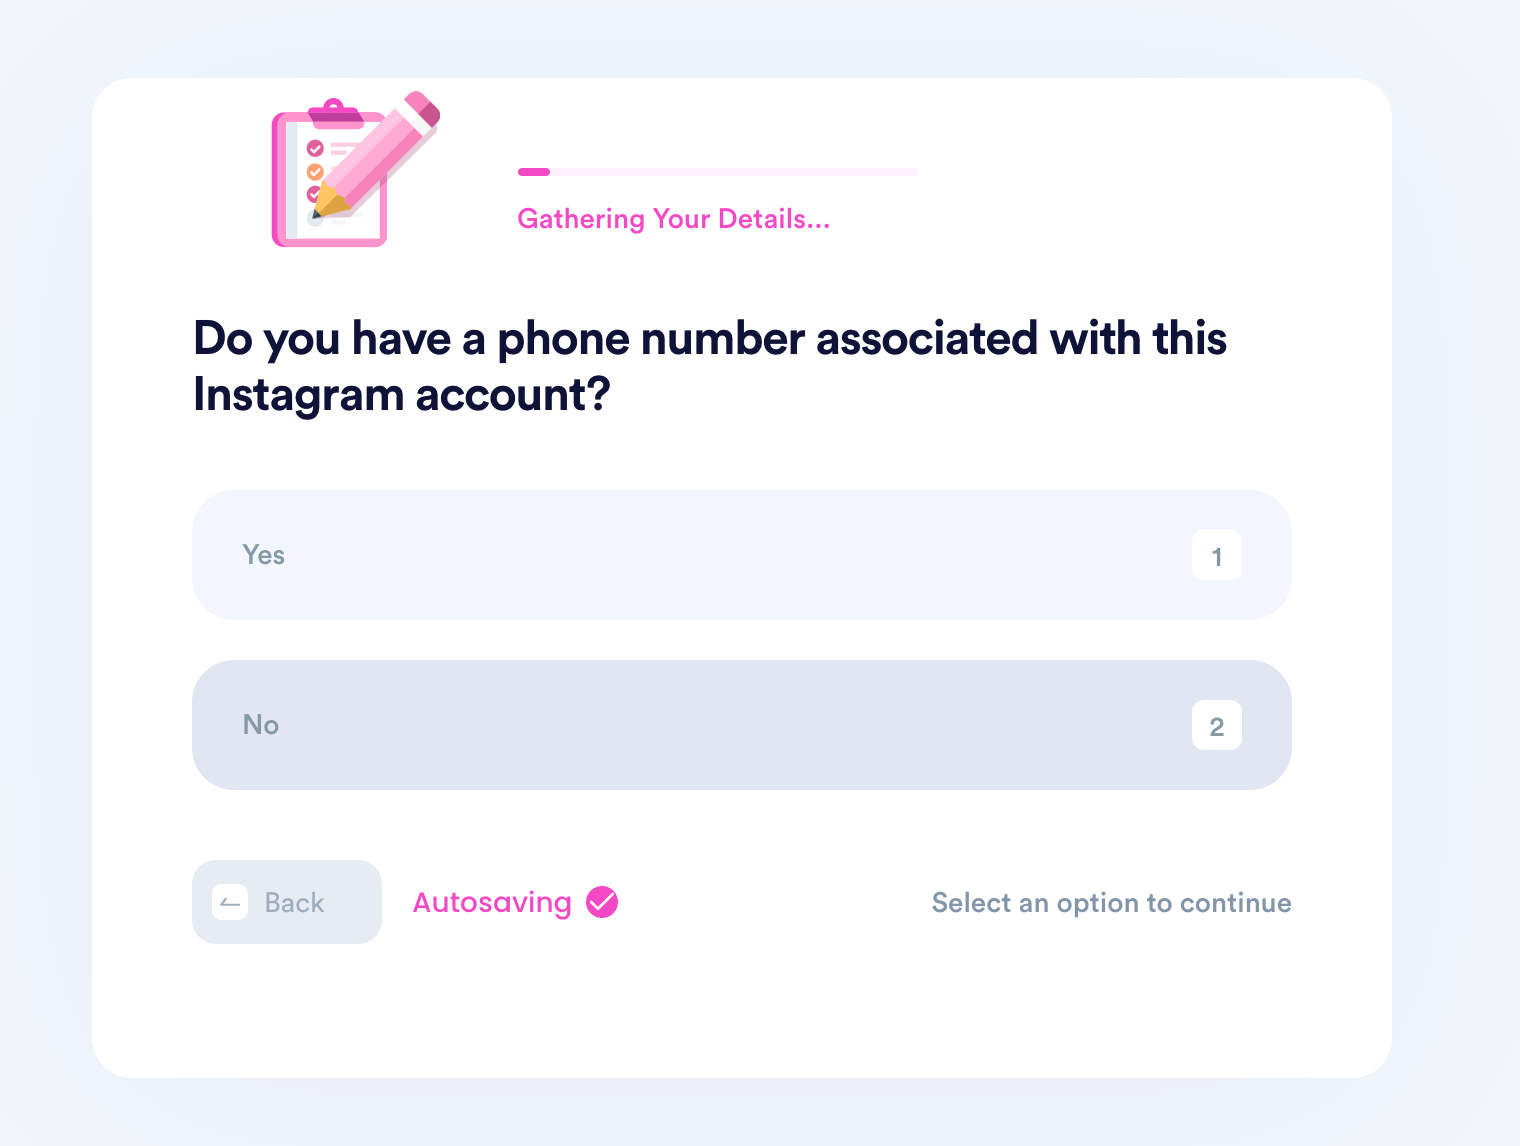
- Tell us more about your account, including usernames and associated emails/phone numbers.
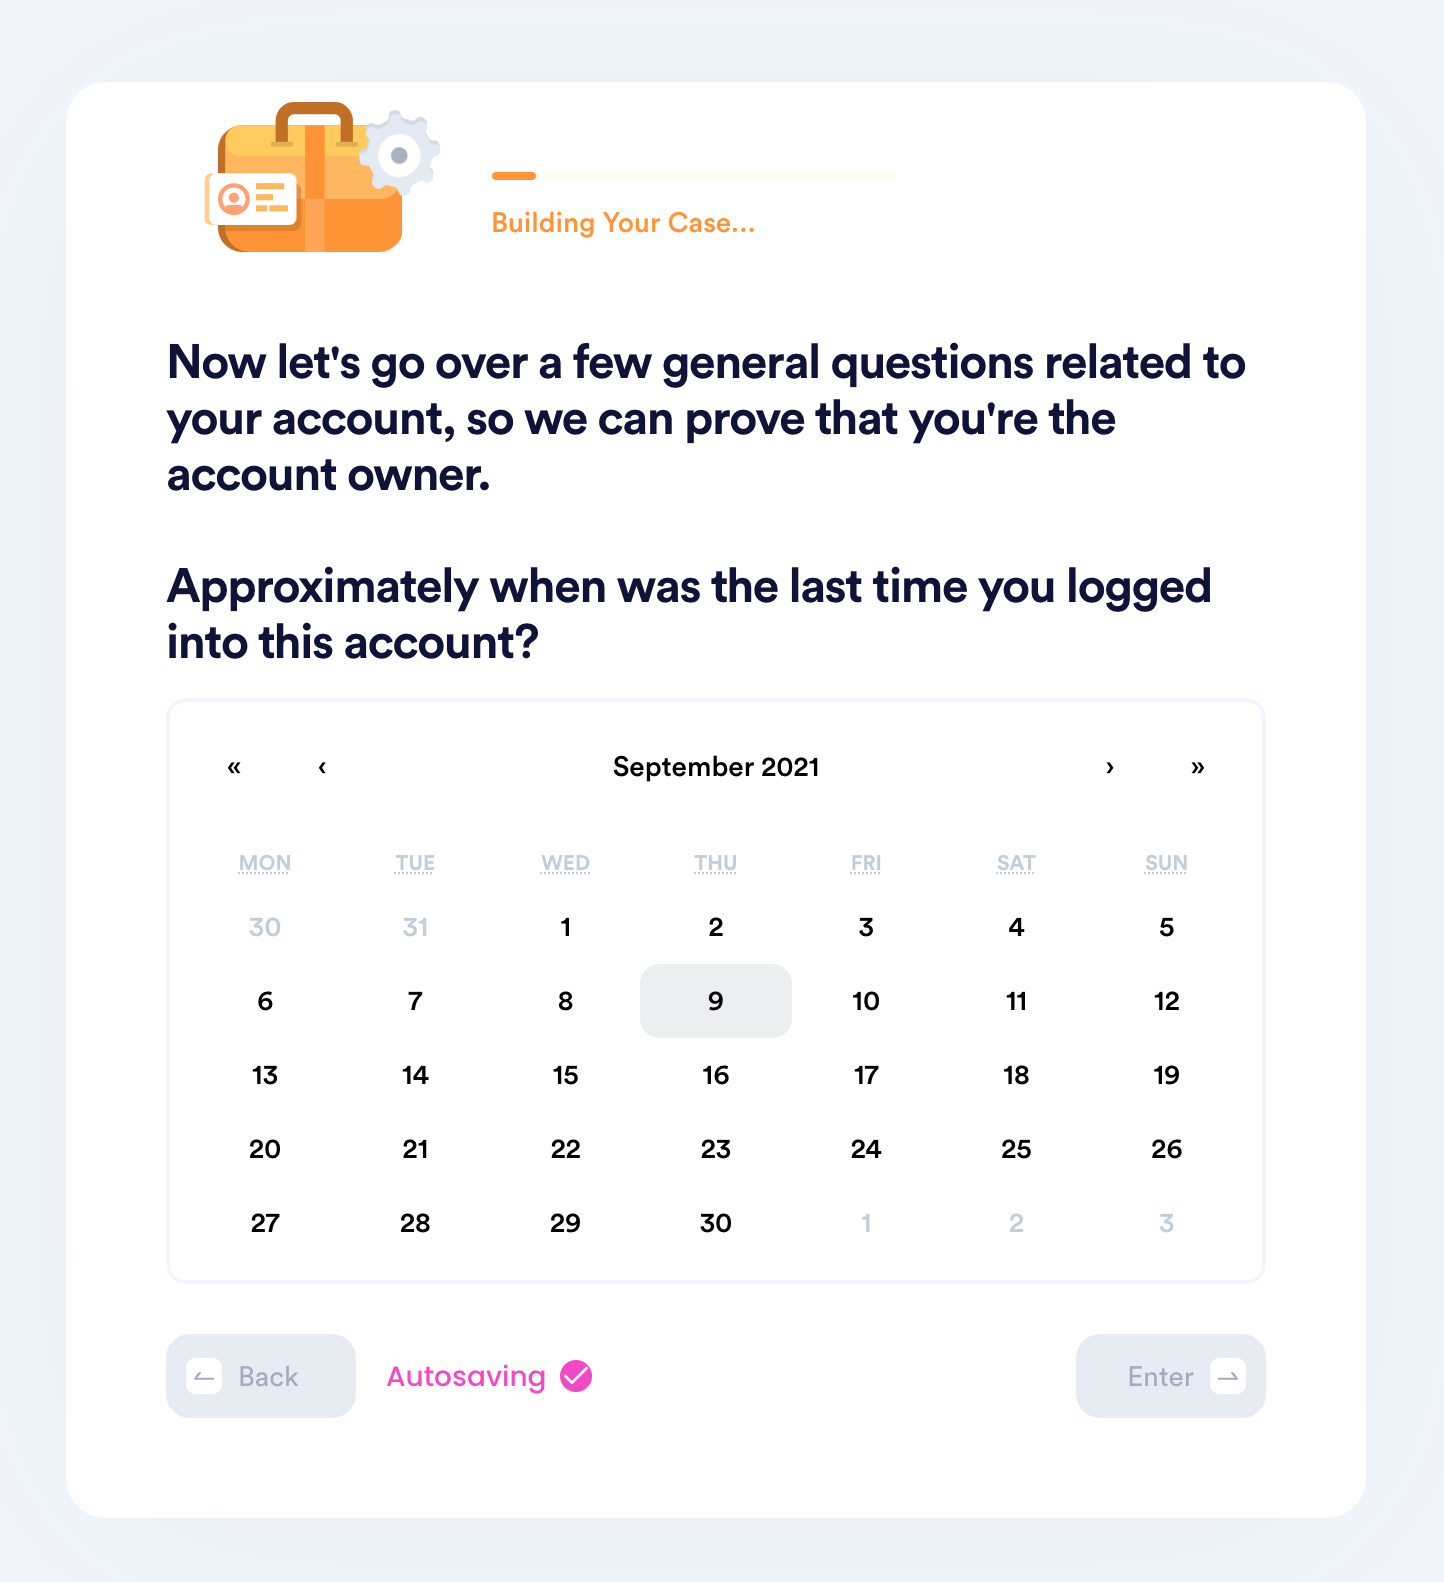
- Help us verify your account ownership by entering the date you first created the account, when you last logged in, any payment methods saved under the account, etc.
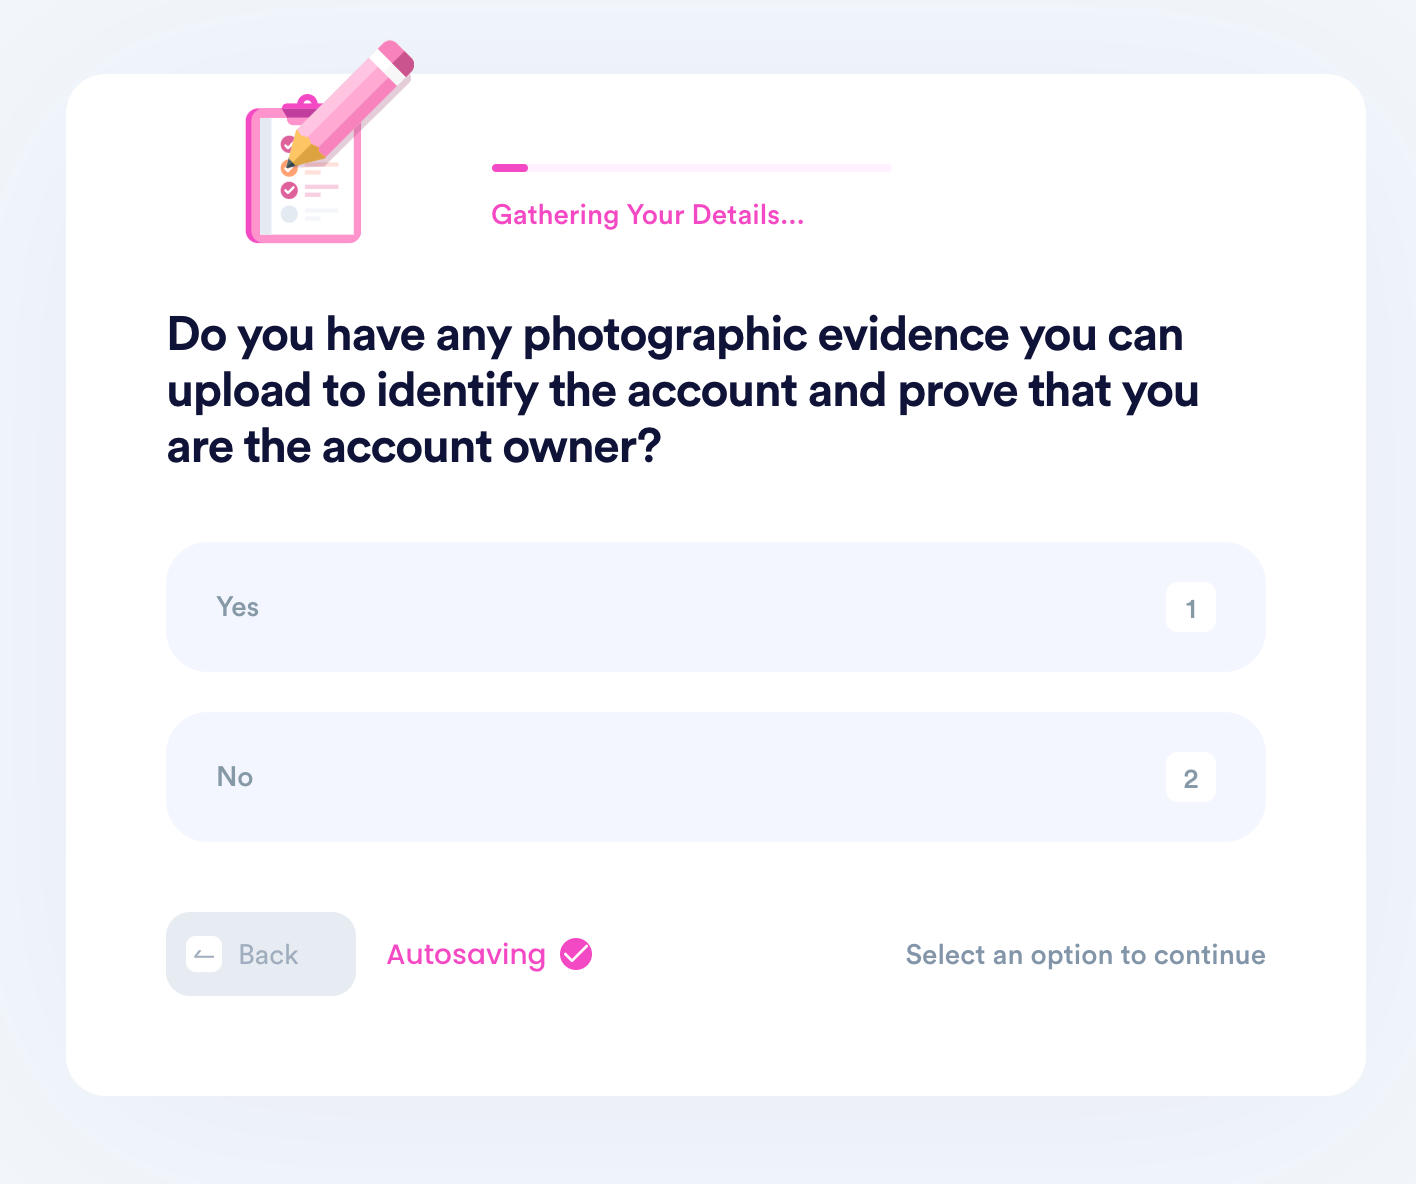
- Upload photographic evidence if you have any that can help prove your account ownership.
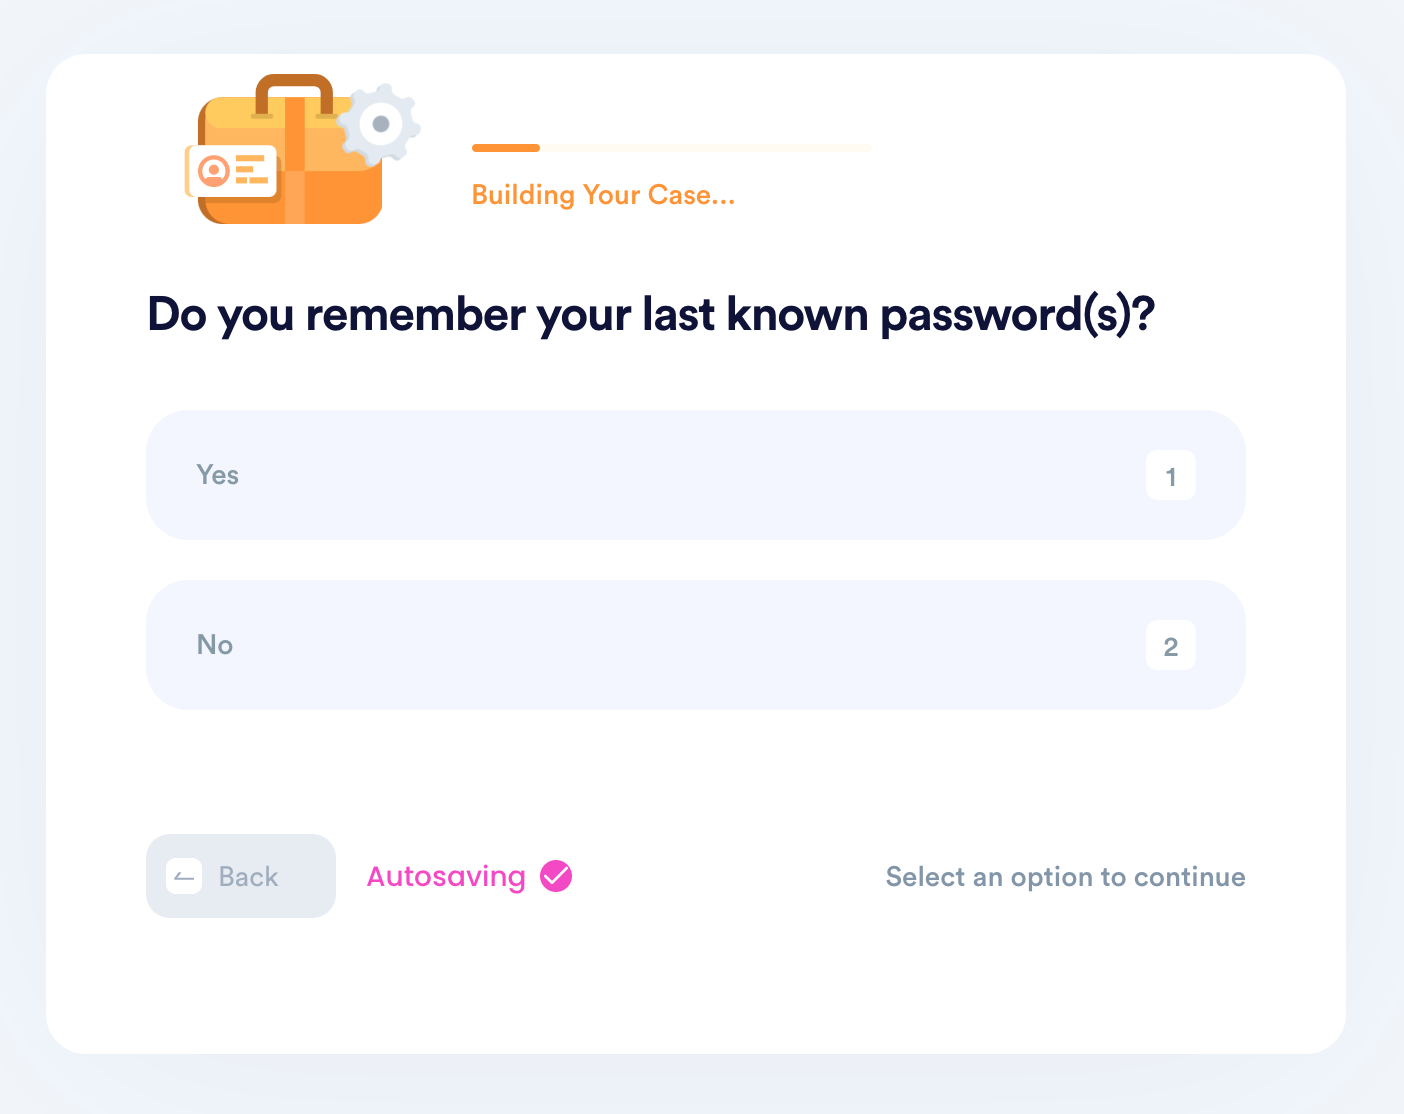
- Enter any last known or previously used passwords.
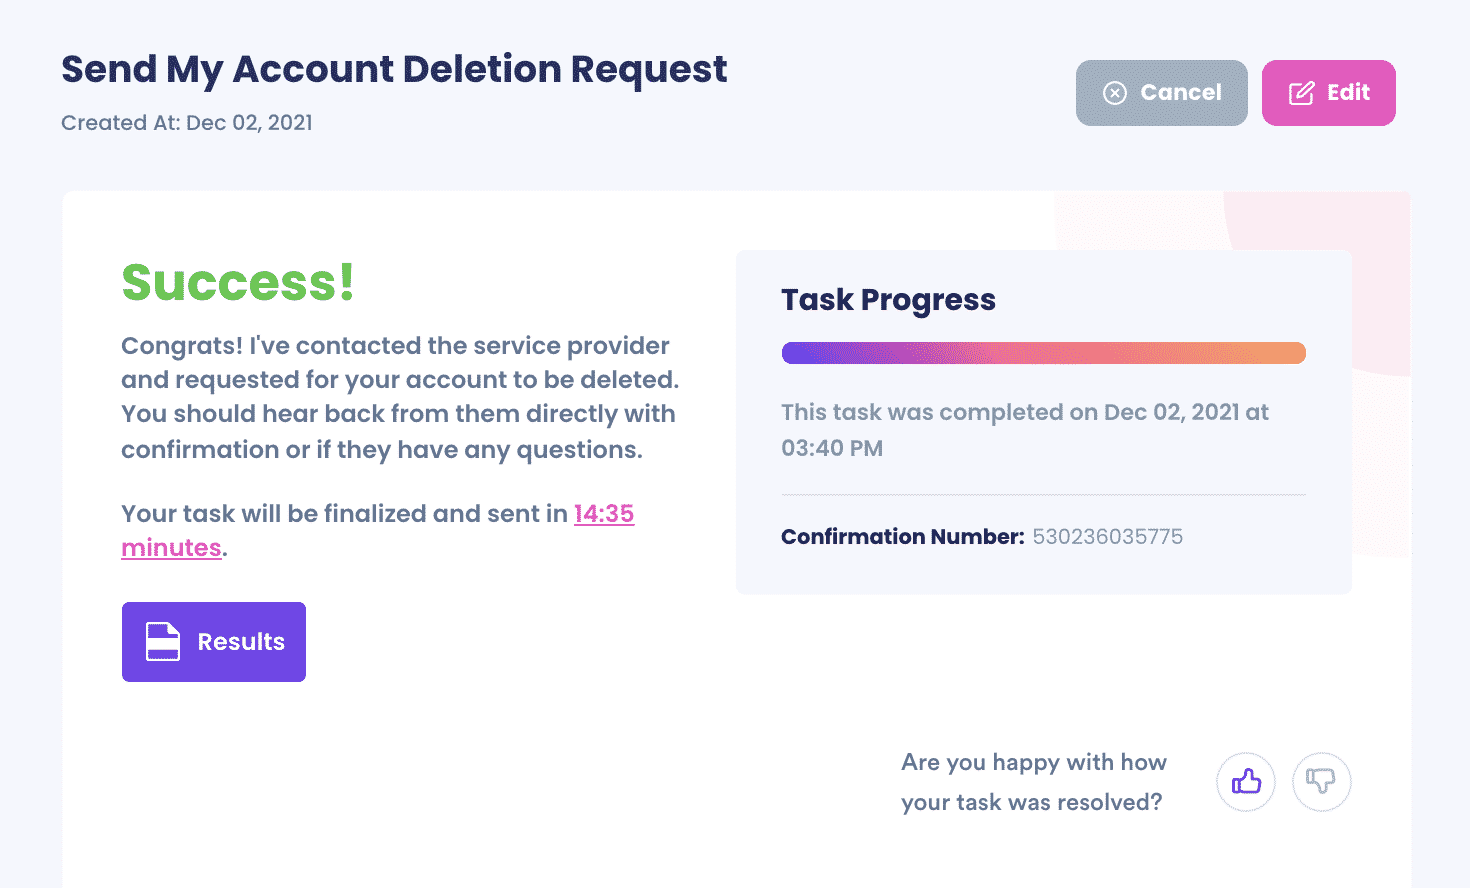
- Enter your contact information and submit the task!
To summarize, here is how you can delete your IMO account via different methods:
| DoNotPay | YES |
| Phone | YES |
| Website | YES |
| In-Person | NO |
| YES | |
| Live Chat | NO |
| YES |
DoNotPay Will Delete Your IMO Account in an Instant
It's Fast—Let us simplify all the steps for you.
It's Easy—Give us a little information, and that's it—you're done.
It's Safe—Rest assured, your data will be successfully removed.
Need More Help? DoNotPay Can Delete All Types of Accounts
There are many other types of accounts that DoNotPay can delete for you with the click of a button. Here are a few—
- How To Delete an Instagram Account
- Why You Should Delete an Amazon Account If You Don't Use It
- Delete Your Facebook Account Quickly
- How To Delete an Old AOL Account
- How To Completely Delete a Gmail Account
- Delete An Old Yahoo Account in Minutes
- Delete Your PayPal Account Even If You Are Locked Out
- How To Delete a Venmo Account
- Delete an Uber Account Safely
- How To Delete Your eHarmony Account
 By
By