 By
ByHow to Quickly and Easily Remove a Background From an Image in Windows 10
Sometimes, you may want to change the overall look of an image in Windows 10. You may want to remove content that doesn't reflect your needs, or you might just want to highlight a particular part of the picture. Sometimes, removing the background from your image in Windows 10 goes fairly smoothly. Other times, removing the background may leave you accidentally removing other things, as well—and struggling to get the image you want.
Do you need to quickly and easily remove background from an image in Windows 10? DoNotPay can help.
How to Remove the Background from an Image in Windows 10 On Your Own
Background removal from an image in Windows 10 allows you to create exactly the image you want. You can use it to:
- Highlight a particular part of an image for use in another project.
- Make a specific part of an image stand out considerably more.
- Remove background details that you don't like.
- Transfer an image to a new background entirely.
- And many more!
Removing a background from an image in Windows 10 can be done in a couple of different ways. You can either simply use automatic background removal, which will use AI technology to determine what you want to remove from the background and leave only the image you intend to keep; or, you can draw lines to indicate the specific area of the background that you wish to keep and which ones you want to remove.
Try these simple steps to remove a background from an image in Windows 10.
- Select your photo. Windows 10 can remove backgrounds from most image files, but cannot remove them from SVG, AI, WMF, or DRW files.
- Select the Picture Format menu.
- Select the "Remove Background" option.
- Look at the photo. The background area that the program will automatically remove should be colored magenta so that you can see what portion of the photo will be removed. The part of the photo that will stay will remain the color already in the image.
If the background area is correct, you can apply the effect. On the other hand, if the default area isn't correct, you may need to follow more steps, including:
- Select "Background Removal"
- Go to the "Picture Tools" option
- Select "Mark Areas to Keep" to use the free-form drawing pencil to select areas of the photo that you actually want to keep in your final image: areas that are covered by the magenta background, but that you do not consider part of the photo's overall background.
- Select "Mark Areas to Remove" to mark specific areas that you would like to have removed from the photo, but that are not part of the magenta background.
- Select "Keep Changes" to retain those changes and finish your background efforts.
What to Do If You Cannot Remove the Background from Your Image Effectively
Sometimes, your efforts to remove the background from your image on Windows 10 on your own can prove ineffective. Even with the drawing tool, your final image might end up missing content that you want to keep, or contain part of the background that you wanted to disappear. You have several options for removing the background from an image.
|
Purchase Software |
Purchasing a photo editing software like Adobe Photoshop offers more exact background removal tools but it comes with a hefty price tag and a steep learning curve. |
|
Use a Free Online Photo Editor |
Free online photo editing tools are a dime a dozen so you’ll likely have to do a good amount of research and testing before you find one that meets your needs. Free tools are usually limited in their abilities or require you to sign up for free trials in order to access premium features. |
|
Hire a Professional |
Hiring a professional will get the whole headache off your plate but it will likely come with a steep one-time cost and put you at the mercy of the other person’s availability. |
Though these methods will likely get you the result you desire, they are time-consuming, costly, and sometimes both. There’s a better way to get the images you want.
Removing the Background From An Image Is Easier With DoNotPay
DoNotPay can make it simple to remove the background from your photos. You won't have to worry about a long search for the right photo editing platform or a long time spent trying to edit just one photo. Instead, follow these easy steps to remove the background from your photo from Windows 10.
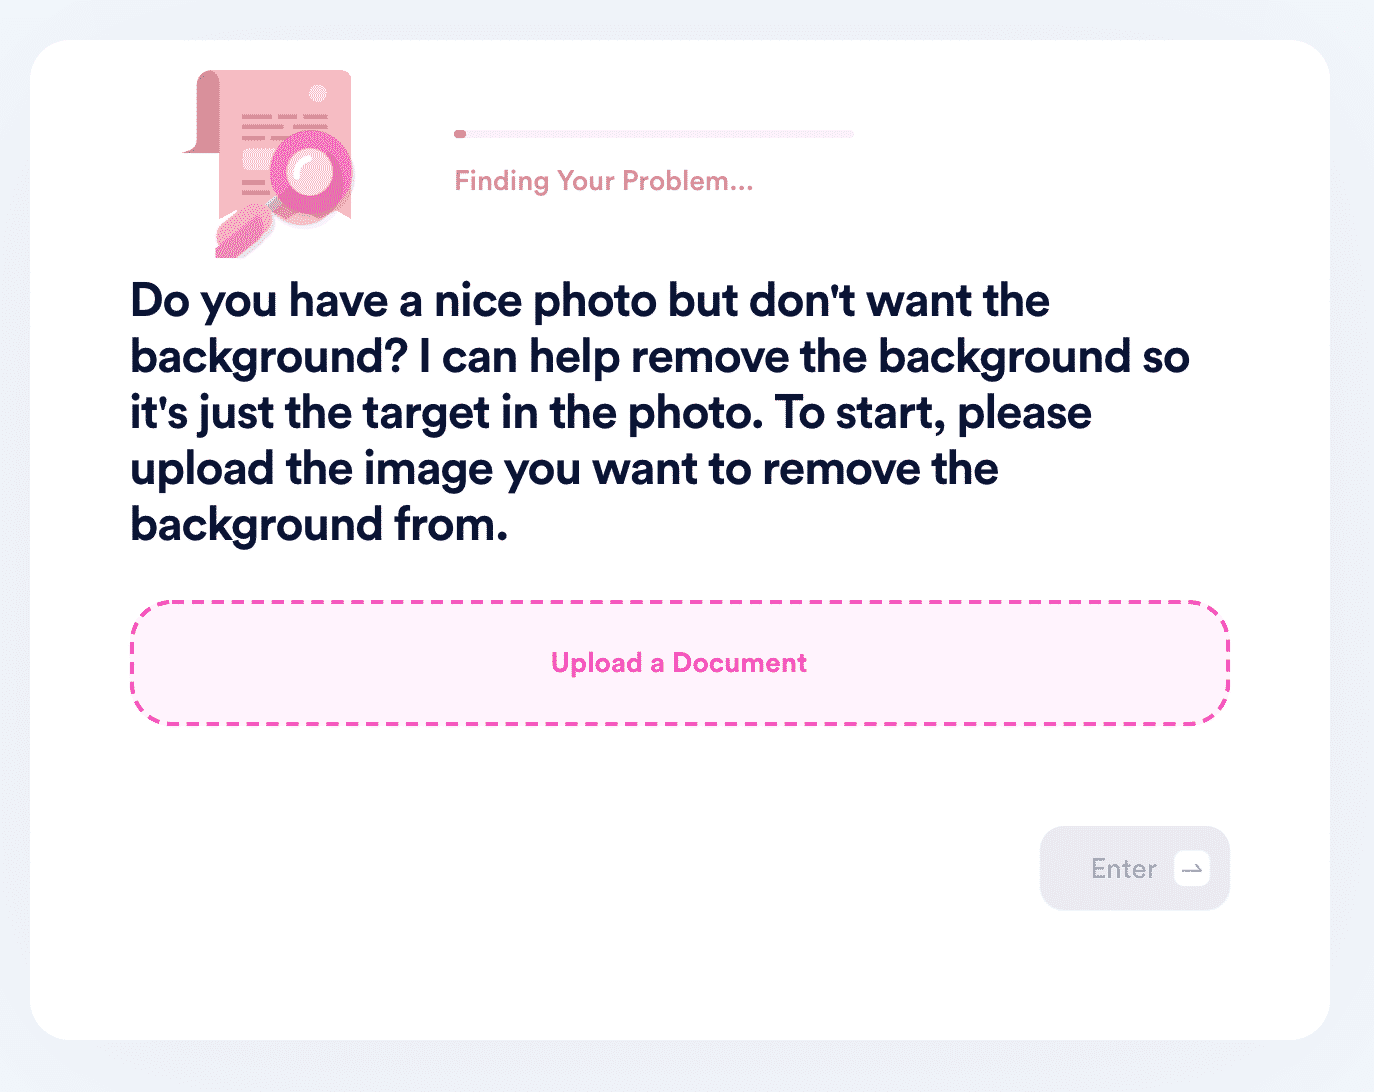
1. Simply drag-and-drop or upload your photo to DoNotPay and click "Submit."
2. DoNotPay will process the image, detect the target of the photo, and remove the background. Your new, transparent photo will be available to download from your "My Disputes" page. To protect your privacy, the download link will expire after 24 hours, and the file will be removed from our servers.

Why Use DoNotPay to Solve Your Photo Background Removal Problems?
Using DoNotPay is the fast, easy, and effective way to handle your photo background removals and many of your other photo editing challenges. DoNotPay can help you learn more about transparent images, remove the background from multiple image types, or remove white from around an image, all in a handful of simple steps.
DoNotPay is easier than many of the other platforms available online. Not only that, it keeps all your photo editing needs in one easy place.
Are you ready to get started? DoNotPay is here to help. Check out our background removal tool today to make it easier than ever to